You do not need to set everything up before you can use ArborDash. You can write an estimate in the first five minutes. But there are five things that, done early, save you from re-typing the same information for months.
Do them in this order. Each one makes the next faster.
1. Your company details and logo
Go to Settings and fill in your company name, address, phone number and licence numbers, then upload your logo.

This is first because it appears on every estimate, every invoice and every email you send from here on. Everything you create before you do it will need re-sending.
Use a logo with a transparent background if you have one. It will sit on white on your documents and on your brand colour in the customer portal, and a white box around it looks careless on the second one.
2. Your services and prices
This is the one that pays off most, and the one people skip.
Under Settings → Services & Items, add every service you sell with its standard price. Removals, pruning, stump grinding, cabling, plant health care, emergency call-outs, the lot.
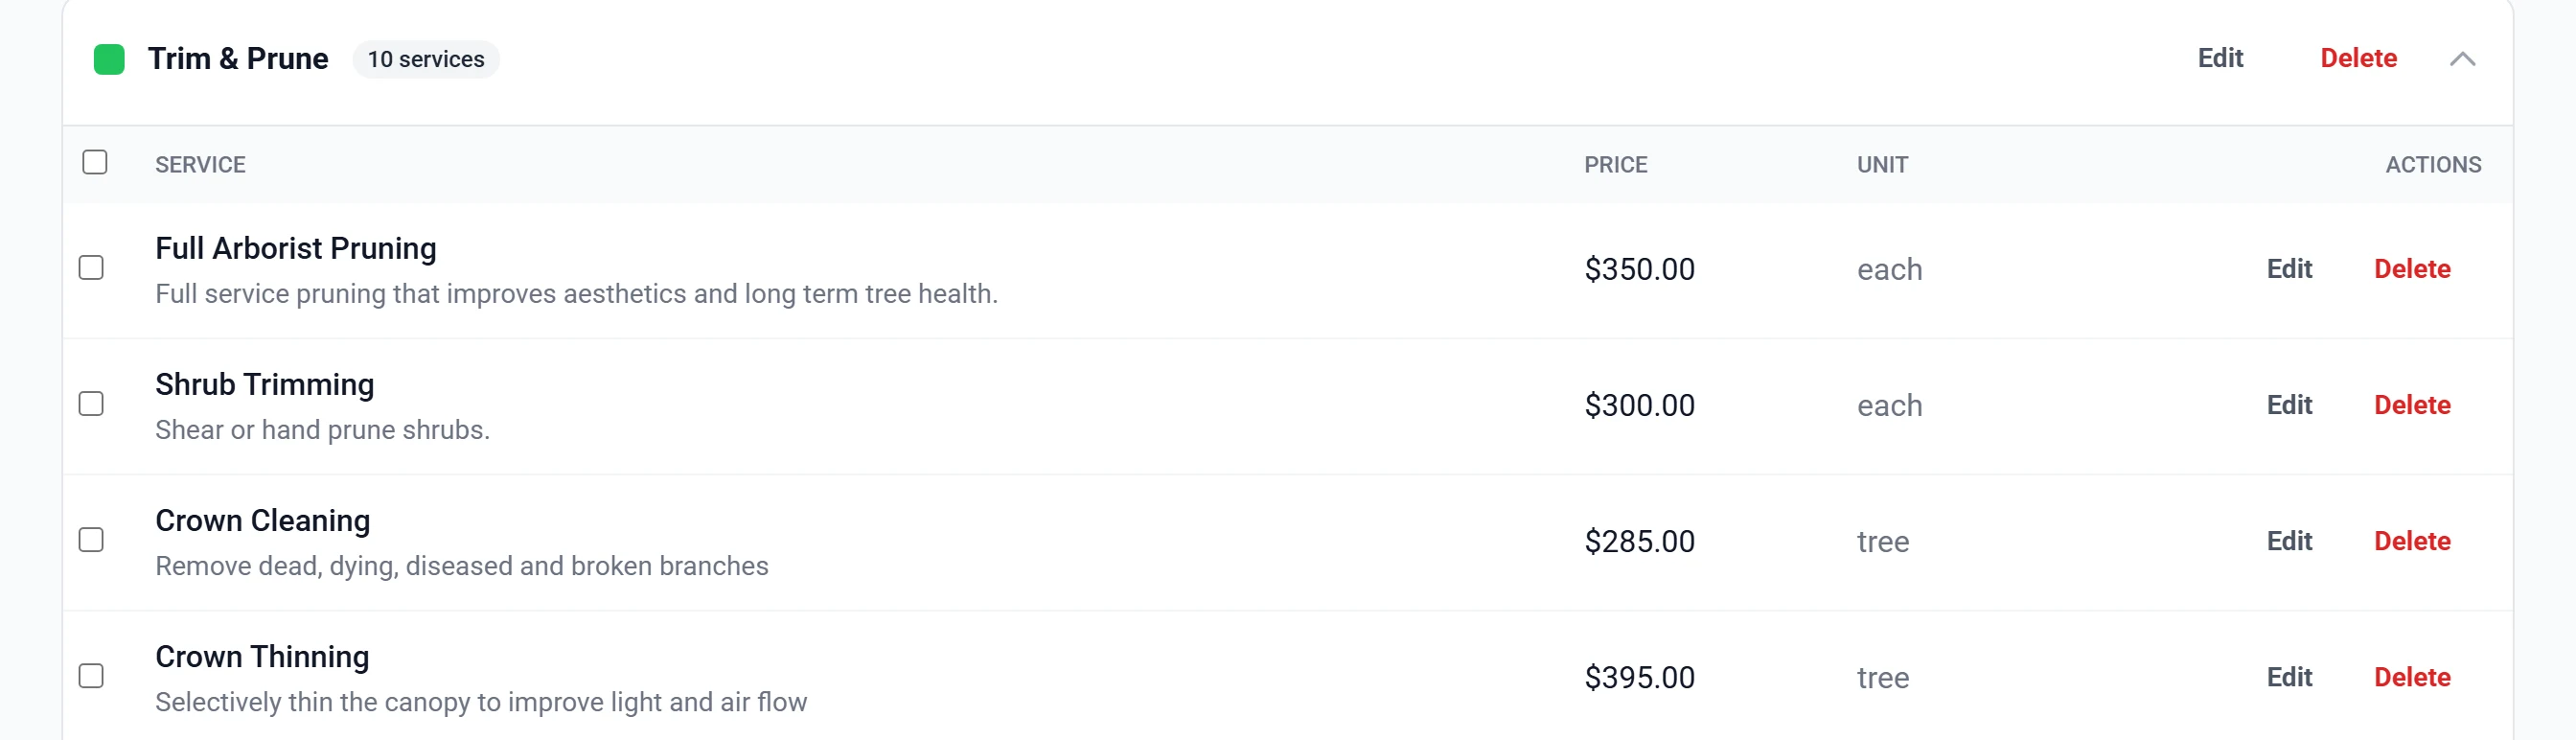
Once they are in, writing an estimate is picking from a list and the price fills itself in. Without them you are typing a description and a number every single time, and your pricing quietly drifts as different people guess differently.
Do not try to be exhaustive on day one. Put in the ten services that cover most of your work. Add the rest as they come up. An unusual job takes thirty seconds longer, and you are not stuck staring at an empty form trying to remember everything you have ever sold.
3. Your customers
You have two options, and which is right depends on where your customer list lives now.
- Connect QuickBooks. If your customers are already in QuickBooks, connecting it brings them across and keeps them in step from then on. This is much the easier route if it applies to you. See Connecting QuickBooks.
- Add them as you go. Perfectly reasonable, and what most people end up doing. You can create a customer from inside an estimate without stopping what you are doing, so your list fills itself with the customers you actually work for rather than everyone you have ever quoted.
Got a spreadsheet of customers and no QuickBooks? There is no customer import on the Customers page yet. The CSV import on the Leads page is for leads, not customers. Send the file to [email protected] and we will load it for you.
If you are connecting QuickBooks at all, do it before adding customers by hand. Otherwise you end up with two copies of the people who were in both places.
4. Your team
Invite the people who need access under Team. Each person gets their own login, so the schedule shows who is doing what and time entries land against the right name.
Roles decide what someone can see:
| Role | Can see |
|---|---|
| Owner | Everything, including billing and settings |
| Admin | Everything operational: estimates, jobs, invoices, customers, reports |
| Employee | Their own schedule, their jobs, their time. No financials unless you grant it. |
Start crew on Employee. You can grant extra access per person afterwards, which is easier than explaining why a groundsman can see the company bank balance.
5. Your terms and conditions
Go to the Estimates page and switch to its Settings tab. Paste in the terms you want at the bottom of every estimate: payment terms, what happens if the weather stops work, who is responsible for what.
Note that this lives on the Estimates page, not on the main Settings page — it is the one setup step that is not where you would expect it.
Set it once and every estimate carries it automatically. This is the cheapest legal protection you will ever put in place, and the moment you want it is always after something has already gone wrong.
Then write a real estimate
With the above done, write an estimate for an actual customer and send it to yourself first. It is the fastest way to see what your customers will see (logo, colours, terms, the lot) and to catch anything that looks wrong before a customer does.
See Creating an estimate, which includes a video walkthrough.
What can wait
None of these are needed to start, and all of them are easier once you have used the system for a week:
- The AI phone receptionist — worth setting up once you know how you want calls handled.
- SMS — needs carrier registration, which takes a few days to come back, so start it when you are ready rather than on day one.
- Your branded mobile app — see Your branded mobile app.
- Automations and reminders — decide these after you have seen your own workflow in the system.
Stuck on any of it? Email [email protected]. If you tell us what you are trying to set up, we can usually just do it with you.